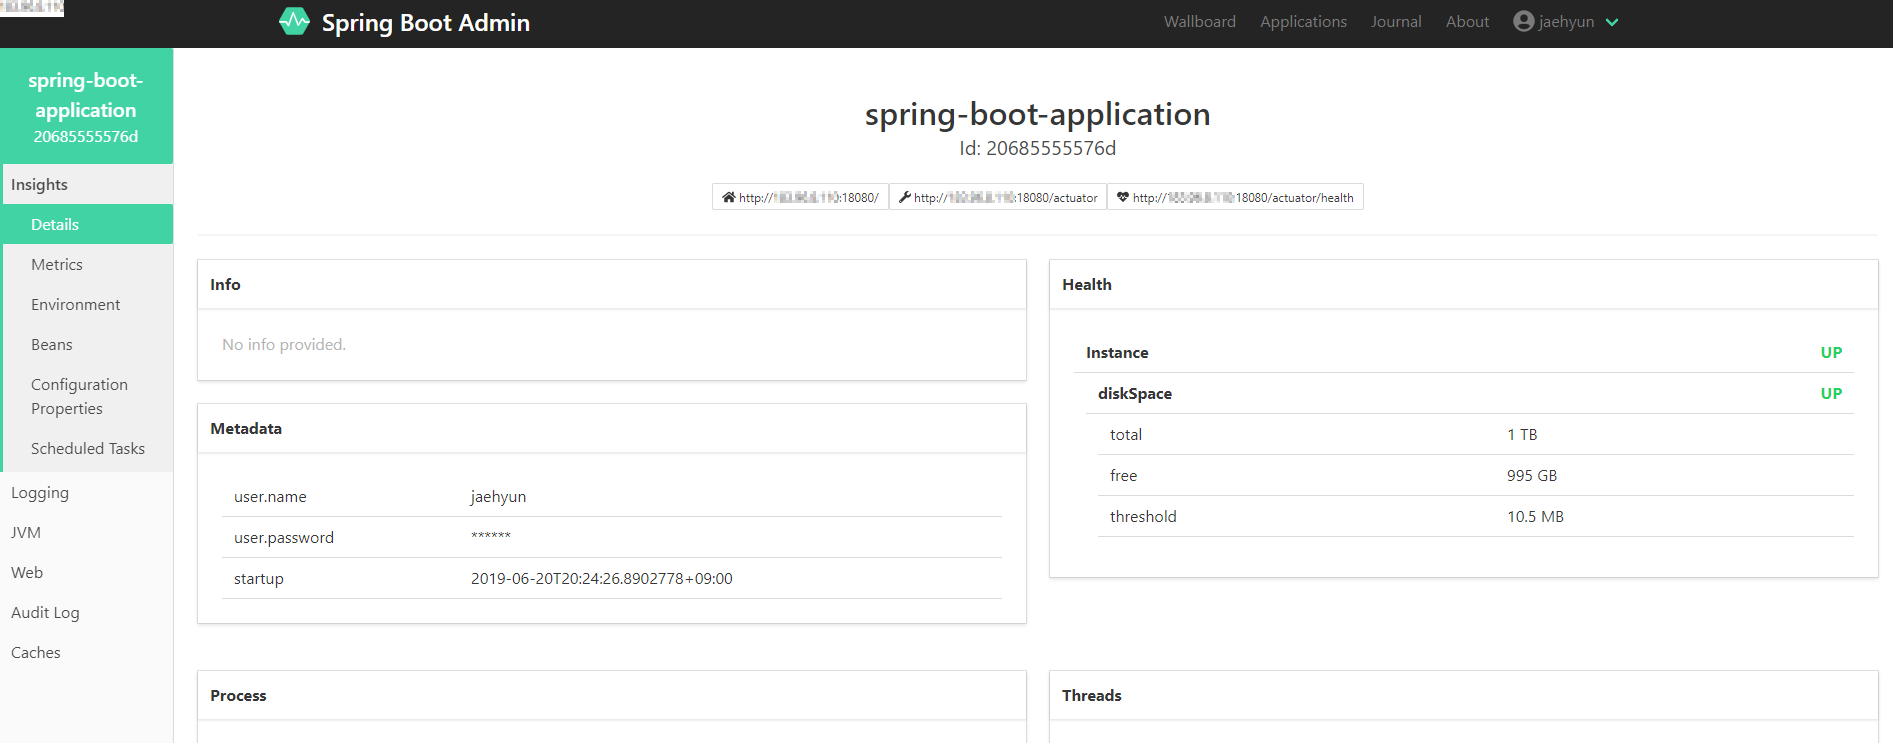
Spring Boot Admin은 Spring Boot에서 제공하는 Actuator endpoints를 이용해서 모니터링 할 수 있게 UI를 제공해주는 프로젝트이다. Spring Boot Admin을 사용 하기 위해서는 서버를 설정 해야된다.
Spring Boot Admin
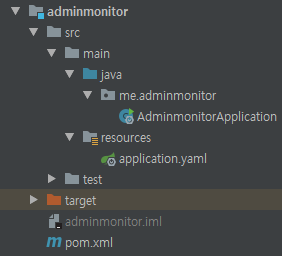
Spring Boot Admin Maven Dependency
1 | <dependency> |
@EnableAdminServer 추가
1 |
|
실행 결과 로그

실행 로그를 보면 actuator를 이용해서 endpoint를 확인 한다.
Spring Boot Client
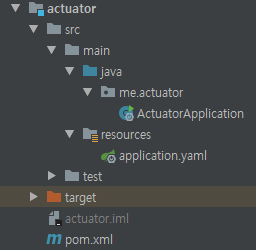
Spring Boot Client Maven Dependency
1 | <dependency> |
application.yaml 설정
1 | spring |
spring.boot.admin.client.url은 Spring Boot Admin 서버의 URLmanagement.endpoints.web.exposure.include은 노출시킬 EndPoint 지정(*는 전체 노출)
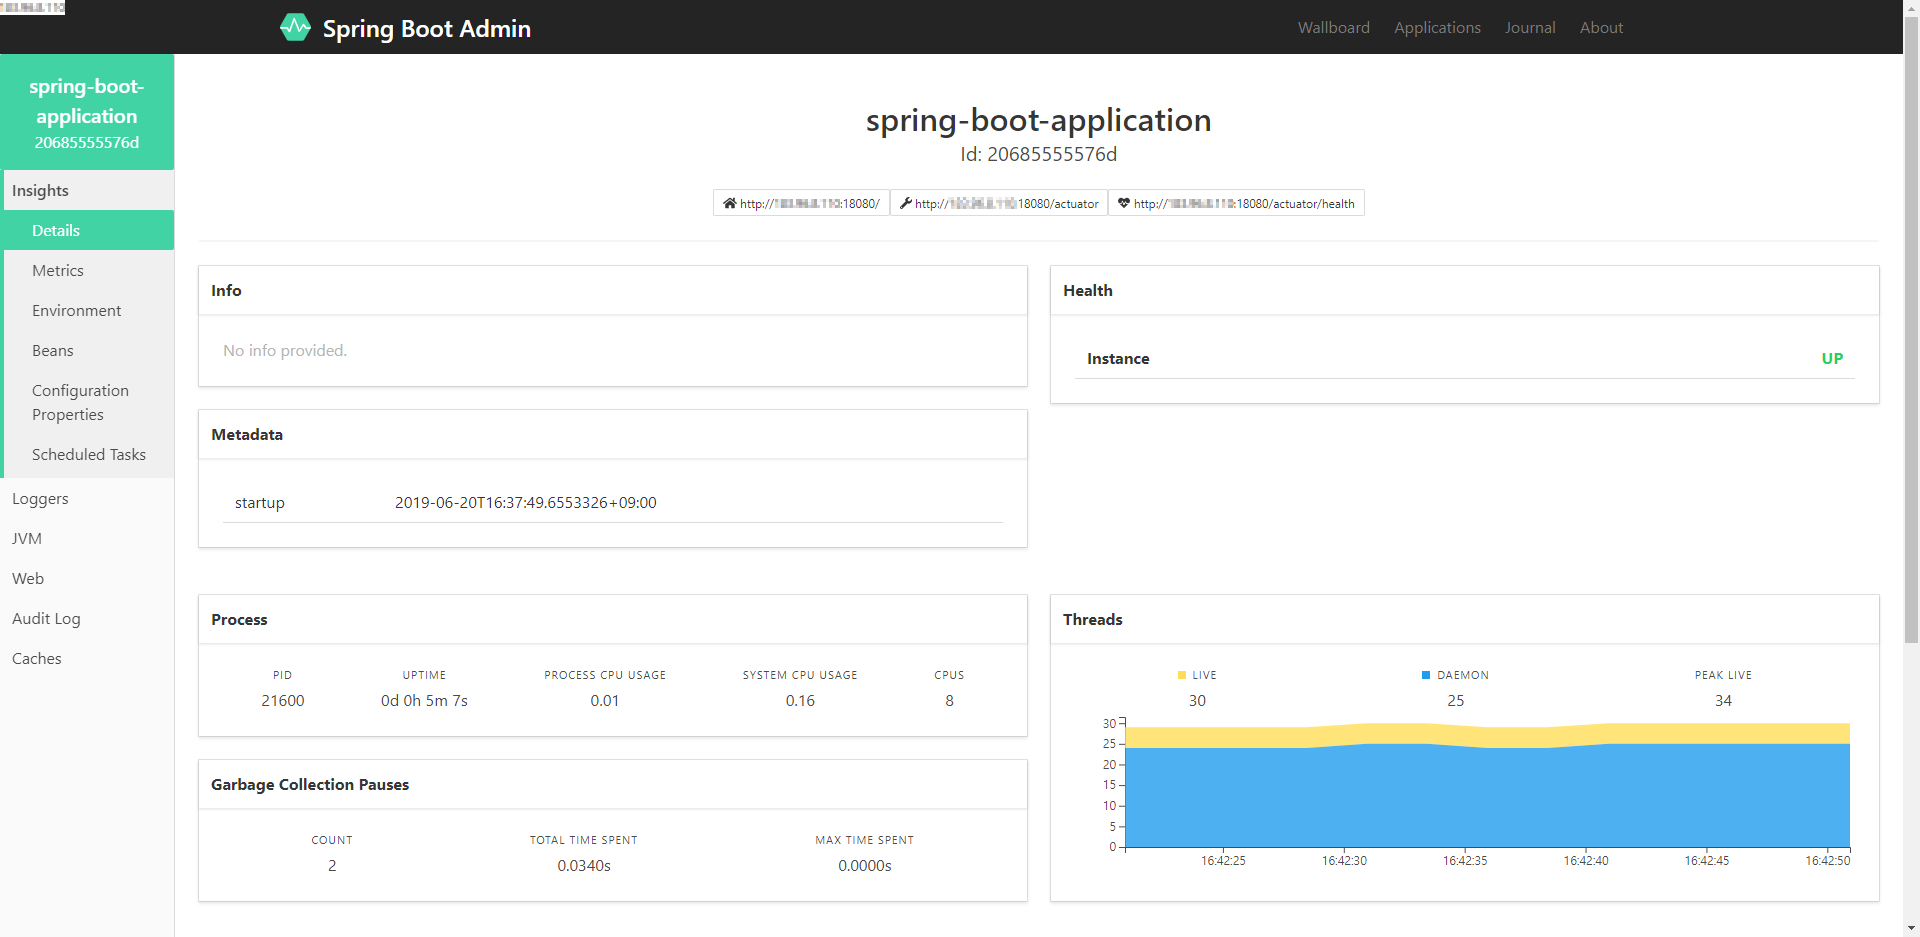
localhost:8080 접속 화면

기타 설정 방법
Spring Boot Admin에서 제공하는 여러가지 기타 설정 방법을 설명한다.
Logfile Viewer
Spring Boot Admin로그 파일은 End Point 에서 자동으로 접근 할 수 없다. 그래서 Spring Boot에 있는 로그 파일을 Actuator endpoints에 설정을 해줘야된다.
logback-spring.xml 추가
Log 파일을 생성 하기 위해서 /src/main/resource/logback-spring.xml을 생성 Spring Logback 설명1
2
3
4
5
6
7
8
9
10
11
12
13
14
15
16
17
18
19
20
21
22
23
24
25
26
27
28
29
30
31
<configuration>
<include resource="org/springframework/boot/logging/logback/defaults.xml"/>
<include resource="org/springframework/boot/logging/logback/console-appender.xml"/>
<!--로그 파일 저장 위치-->
<property name="LOG_FILE" value="C:/logs/logback/client.log"/>
<appender name="ROLLING-FILE" class="ch.qos.logback.core.rolling.RollingFileAppender">
<file>${LOG_FILE}</file>
<encoder class="ch.qos.logback.classic.encoder.PatternLayoutEncoder">
<pattern>${FILE_LOG_PATTERN}</pattern>
</encoder>
<rollingPolicy class="ch.qos.logback.core.rolling.TimeBasedRollingPolicy">
<fileNamePattern>${LOG_FILE}.%d{yyyy-MM-dd}</fileNamePattern>
<maxHistory>10</maxHistory>
<totalSizeCap>10GB</totalSizeCap>
</rollingPolicy>
</appender>
<logger name="me.actuator" level="debug" additivity="false">
<!-- ref="appender name 지정" -->
<appender-ref ref="CONSOLE"/>
<appender-ref ref="ROLLING-FILE"/>
</logger>
<root level="debug">
<appender-ref ref="CONSOLE"/>
<appender-ref ref="ROLLING-FILE"/>
</root>
</configuration>
application.yaml 추가
1 | logging: |
logging.file은Spring Boot Admin에서 읽을 log파일 위치 설정logging.pattern.file은 로그 패턴에 색깔을 넣는다.
Spring Boot Admin Logfile Viewer 확인
실시간으로 저장(C:/logs/logback/client.log)되는 로그를 확인 할 수 있다.
EndPoint Customizing
application.yaml에 추가1
2
3
4
5management:
endpoints:
web:
exposure:
include: "*"
management.endpoints.web.exposure.include추가 할 EndPoint 설정
EndPoint 관련 참조
Security
Spring Boot Admin은 기본적으로 로그인/로그아웃 기능을 제공하지 않지만, Spring-Security를 이용해서 로그인/로그아웃 기능을 만들 수 있다.
Spring Boot Admin
Spring SecurityMaven Dependencypom.xml 1
2
3
4
5
6
7
8<dependency>
<groupId>org.springframework.boot</groupId>
<artifactId>spring-boot-starter-web</artifactId>
</dependency>
<dependency>
    <groupId>org.springframework.boot</groupId>
    <artifactId>spring-boot-starter-security</artifactId>
</dependency>/src/main/SecuritySecureConfig.java 파일 추가
SecuritySecureConfig.java 1
2
3
4
5
6
7
8
9
10
11
12
13
14
15
16
17
18
19
20
21
22
23
24
25
26
27
28
29
30
31
32
33
public class SecuritySecureConfig extends WebSecurityConfigurerAdapter {
private final AdminServerProperties adminServer;
public SecuritySecureConfig(AdminServerProperties adminServer) {
this.adminServer = adminServer;
}
protected void configure(HttpSecurity http) throws Exception {
// @formatter:off
SavedRequestAwareAuthenticationSuccessHandler successHandler = new SavedRequestAwareAuthenticationSuccessHandler();
successHandler.setTargetUrlParameter("redirectTo");
successHandler.setDefaultTargetUrl(this.adminServer.path("/"));
http.authorizeRequests()
.antMatchers(this.adminServer.path("/assets/**")).permitAll() // <1>
.antMatchers(this.adminServer.path("/login")).permitAll()
.anyRequest().authenticated() // <2>
.and()
.formLogin().loginPage(this.adminServer.path("/login")).successHandler(successHandler).and() // <3>
.logout().logoutUrl(this.adminServer.path("/logout")).and()
.httpBasic().and() // <4>
.csrf()
.csrfTokenRepository(CookieCsrfTokenRepository.withHttpOnlyFalse()) // <5>
.ignoringAntMatchers(
this.adminServer.path("/instances"), // <6>
this.adminServer.path("/actuator/**") // <7>
);
// @formatter:on
}
}
// end::configuration-spring-security[]
- 모든 로그인 페이지에 대한 권한을 부여한다.
- 권한이 부여되지 않으면 인증을 요청 한다.
- 로그인 및 로그 아웃을 구성한다.
- Spring Boot Admin 클라이언트를 등록하기 위해 HTTP-Basic 지원을 사용한다.
- 쿠키를 사용하여 CSRF 보호 기능 구현
- CRSF를 비활성화한다.
- actuator EndPoint 대한 CRSF 보호를 비활성화한다.
- application.yaml 추가
application.yaml 1
2
3
4
5spring:
security:
user:
name: jaehyun
password: 1234
Spring Boot Client
Spring SecurityMaven Dependencypom.xml 1
2
3
4<dependency>
<groupId>org.springframework.boot</groupId>
<artifactId>spring-boot-starter-security</artifactId>
</dependency>Spring Boot Client에서 Security 전체 허용 추가/src/main/SecurityPermitAllConfig.java생성SecurityPermitAllConfig.java 1
2
3
4
5
6
7
8
public class SecurityPermitAllConfig extends WebSecurityConfigurerAdapter {
protected void configure(HttpSecurity http) throws Exception {
http.authorizeRequests().anyRequest().permitAll()
.and().csrf().disable();
}
}application.yaml 추가
application.yaml 1
2
3
4
5
6
7
8
9
10
11spring:
boot:
admin:
client:
url: http://localhost:8080
username: jaehyun
password: 1234
instance:
metadata:
user.name: jaehyun
user.password: 1234
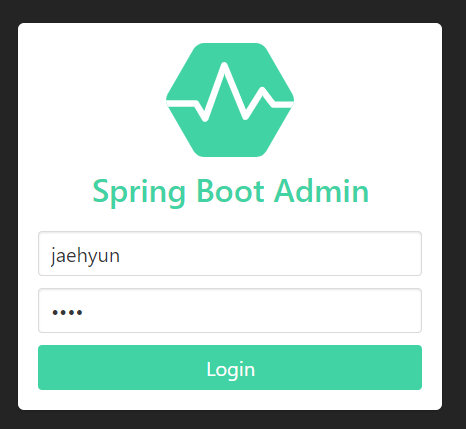
Security 실행 화면(http://localhost:8080)
jaehyun/1234 입력 후 접속